Windows Backup and Recovery with Clonezilla, Restic, and Resticprofile
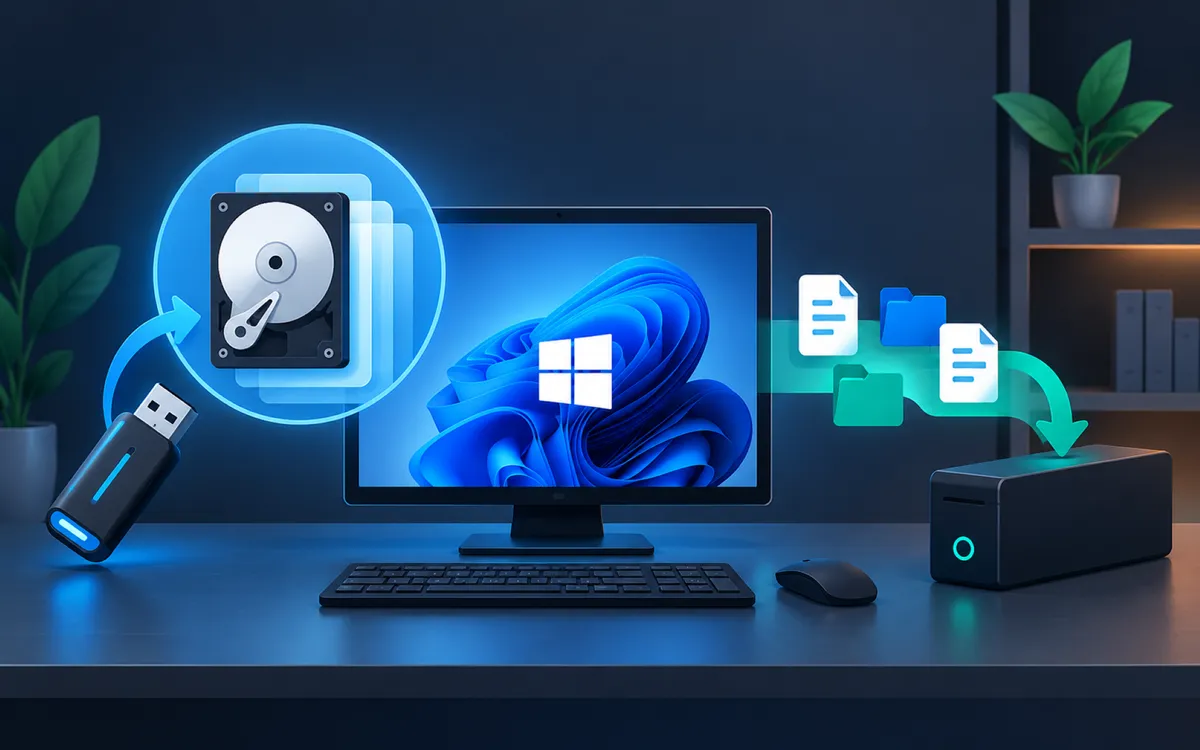
A reliable Windows backup strategy should protect against more than one type of failure.
A disk image can recover an entire computer after a failed drive, corrupted Windows installation, or major configuration problem. File backups solve a different problem: recovering individual documents, projects, configuration files, or previous versions without restoring an entire disk.
Combining Clonezilla with Restic and Resticprofile provides both layers.
Clonezilla creates offline images of the Windows system disk that can be used for bare-metal recovery. Restic provides deduplicated, versioned file backups, while Resticprofile provides a convenient configuration and scheduling layer around Restic.
This guide builds a practical Windows recovery system using:
- Clonezilla for complete disk imaging
- Rufus for creating the bootable Clonezilla USB drive
- Restic for regular file-level backups
- Resticprofile for configuring and scheduling Restic
- A separate backup disk for storing recovery data
The result is a layered backup system capable of recovering either a single file or an entire Windows installation.
Requirements
Before starting, you will need:
- A Windows 11 computer
- Administrator access
- A USB flash drive for Clonezilla
- A separate disk with enough capacity for backups
- Internet access while downloading and installing the tools
- PowerShell or Windows Terminal
The USB flash drive will be erased when Rufus creates the Clonezilla boot media.
The backup disk should preferably be physically separate from the Windows system disk. An internal secondary disk can work, but an external disk, NAS, or other independent storage provides better protection against hardware failure.
Before You Begin
Clonezilla and Restic are not competing backup applications. They protect the system at different levels.
Clonezilla operates primarily at the disk and partition level. You boot the computer into Clonezilla instead of Windows and create an image of the system disk. That image can later reconstruct the disk after a failure.
Restic operates at the file level. It reads selected files and directories, divides their contents into data blocks, encrypts them, and stores the data in a repository. Subsequent backups reuse unchanged data, making frequent backups practical.
Resticprofile sits above Restic. It does not replace Restic or use a different backup format. Instead, it provides profiles for defining repositories, backup sources, exclusions, retention policies, schedules, and other Restic options.
This gives the recovery system two distinct layers:
Windows Computer
│
├── Clonezilla
│   └── Complete disk image
│       └── Bare-metal recovery
│
└── Restic + Resticprofile
    └── Regular file backups
        ├── Documents
        ├── Projects
        ├── Configuration
        └── Previous file versions
A Clonezilla image does not eliminate the need for frequent file backups, and Restic should not be treated as a replacement for a recoverable system image.
Why This Works
Different failures require different recovery methods.
Suppose the Windows boot drive fails completely. Installing a replacement drive and restoring a Clonezilla image can return the computer to the state captured when that image was created, including Windows, installed applications, partitions, and configuration.
Now suppose the computer works normally, but an important file was accidentally deleted three days ago.
Restoring an entire disk image would be unnecessary. Restic can instead locate a snapshot from before the deletion and restore only the required file.
This is the primary advantage of combining imaging with file-level backups: Clonezilla provides broad system recovery, while Restic provides granular and frequent data recovery.
Step 1: Download Clonezilla
Clonezilla Live is a small bootable Linux environment designed for imaging and cloning individual computers.
Download the current stable AMD64 Clonezilla Live release from the official Clonezilla website:
For a typical modern Windows 11 PC, download the AMD64 ISO.
The ISO is the bootable image that Rufus will write to the USB flash drive.
Clonezilla also publishes checksums for its releases. Verifying the ISO is optional but recommended, particularly when the USB will become part of a long-term recovery kit.
In PowerShell, calculate the SHA-256 hash with:
Get-FileHash .\clonezilla-live-*.iso -Algorithm SHA256
Compare the result with the SHA-256 checksum published for the release on the Clonezilla website.
A matching value confirms that the downloaded ISO has not been corrupted or modified.
Step 2: Download Rufus
Rufus creates bootable USB media from ISO images and does not require a traditional installation.
Download it from:
Connect the USB flash drive that will become the Clonezilla recovery drive.
Remember that creating the bootable USB will erase the existing contents of that drive.
Start Rufus and select:
Device:          Your USB flash drive
Boot selection:  Clonezilla ISO
Partition scheme: GPT
Target system:   UEFI
For a modern Windows 11 computer using UEFI firmware, GPT is normally the appropriate choice.
Select START and allow Rufus to write the ISO.
If Rufus asks whether to use ISO Image mode or DD Image mode, use the recommended/default option unless you have a specific compatibility reason to choose otherwise.
When Rufus finishes, safely eject the USB drive.
Step 3: Test the Clonezilla USB
A recovery USB should be tested before it is needed.
Restart the computer and open the motherboard or computer manufacturer's boot-selection menu. The required key varies by manufacturer but commonly includes F8, F11, F12, or Esc.
Select the UEFI entry for the Clonezilla USB drive.
You should reach the Clonezilla boot menu.
Boot Clonezilla Live and proceed until the initial Clonezilla interface appears. You do not need to create an image during this first test.
This confirms three important things:
- The USB is bootable.
- The computer's firmware can start Clonezilla.
- Clonezilla can load successfully on the hardware.
Exit Clonezilla and reboot into Windows after the test.
Step 4: Create a Clonezilla System Image
When you are ready to create the first image, connect the disk that will store the Clonezilla images and boot from the Clonezilla USB.
From the Clonezilla interface, choose:
Start Clonezilla
For a backup stored as image files rather than directly cloned onto another disk, select:
device-image
For an attached USB or secondary backup disk, select:
local_dev
Clonezilla will scan the attached storage devices.
Carefully identify the backup disk and select the partition that should contain the images.
After choosing the image repository, select:
savedisk
The savedisk operation creates an image containing the entire source disk rather than imaging only an individual partition.
Select the Windows system disk as the source.
This step requires particular care. Verify disk model numbers and capacities before continuing. The system disk is the disk being read, while the backup disk is where the image is being stored.
Give the image a descriptive name such as:
windows-system-2026-09
Proceed through the remaining Clonezilla prompts and allow the image operation to finish.
When complete, Clonezilla can optionally verify that the saved image is restorable. Performing this verification is strongly recommended.
Step 5: Install Restic on Windows
Return to Windows.
Restic officially supports installation through WinGet. Open PowerShell as Administrator and run:
winget install --exact --id restic.restic --scope Machine
The --exact option requires an exact package identifier match.
The --id restic.restic option identifies the official Restic package.
The --scope Machine option installs Restic for the computer rather than only the current user's profile. This is useful when Restic will eventually run from scheduled tasks.
Close and reopen PowerShell after installation, then verify Restic:
restic version
The command should display the installed Restic version.
Restic can later update its official binary with:
restic self-update
Step 6: Install Resticprofile
Resticprofile provides configuration and scheduling functionality around Restic.
Download the current Windows AMD64 release from the official project:
Place Resticprofile.exe in a permanent directory included in the system PATH, rather than leaving it in the Downloads directory.
For example:
C:\Program Files\resticprofile\
After adding the directory to the system PATH, open a new PowerShell window and verify the installation:
resticprofile version
Both commands should now work from any directory:
restic version
resticprofile version
Step 7: Create the Restic Repository
The Restic repository contains the encrypted backup data.
For this example, assume the backup disk is F: and create:
F:\Restic
A repository only needs to be initialized once.
Set the repository location:
$env:RESTIC_REPOSITORY = "F:\Restic"
Then initialize it:
restic init
Restic will ask you to create a repository password.
Do not lose this password.
Restic encrypts repository data, and a lost repository password generally means the backups cannot be recovered.
Store the password securely in a password manager or other protected location separate from the backup repository.
After initialization, Restic reports that the repository was created successfully.
Do not run restic init again against an existing working repository.
Step 8: Configure Resticprofile
Create a dedicated configuration directory, for example:
C:\resticprofile
Inside it, create:
profiles.yaml
A basic configuration might look like this:
version: "1"

default:
  repository: "F:\\Restic"

windows:
  inherit: default

  backup:
    source:
      - "C:\\Users\\YourName\\Documents"
      - "C:\\Users\\YourName\\Pictures"
      - "D:\\Projects"
Replace the example paths with the directories that actually contain your important data.
The default profile defines the repository.
The windows profile inherits that configuration and defines the directories Restic should back up.
The repository password should not be stored directly in a Git repository or an unprotected configuration file. Resticprofile supports password files and other Restic credential mechanisms that can be configured according to the security requirements of the computer.
Step 9: Test the File Backup
Before creating a schedule, run the backup manually.
Change to the directory containing profiles.yaml:
Set-Location C:\resticprofile
Then run:
resticprofile -n windows backup
The -n windows option selects the windows profile.
Resticprofile then invokes Restic using the repository and source configuration defined for that profile.
The first backup may take some time because every selected file must be examined and the required data written to the repository.
Later backups are generally much faster because Restic stores only new data that is not already present in the repository.
Step 10: Inspect Restic Snapshots
Each successful backup creates a snapshot.
List them with:
resticprofile -n windows snapshots
You should see information including the snapshot ID, timestamp, host, and backed-up paths.
Snapshots are one of the major differences between Restic and a simple file-copy system.
Multiple snapshots can represent the state of your files at different points in time without requiring a complete independent copy of every unchanged file.
Step 11: Test a File Restore
A backup should not be considered complete until recovery has been tested.
Create a temporary restore directory:
New-Item -ItemType Directory -Path C:\Restic-Restore-Test
Restore the latest snapshot:
resticprofile -n windows restore latest --target C:\Restic-Restore-Test
Examine the restored files and verify that several important files open correctly.
After verification, the temporary restore directory can be removed.
This simple test proves considerably more than checking whether the backup command returned successfully. It demonstrates that Restic can read the repository, decrypt the stored data, locate the snapshot, and reconstruct files.
Step 12: Check Repository Integrity
Restic includes repository consistency checking.
Run:
resticprofile -n windows check
This checks the repository's internal structure.
A repository check should be performed periodically as part of the backup maintenance process.
More extensive checks can read additional stored data, but they also require substantially more time and disk I/O. Choose the frequency according to the size of the repository and the importance of the data.
Step 13: Schedule the Restic Backup
One advantage of Resticprofile is its ability to manage scheduled backups.
The exact schedule should reflect how frequently the files on the computer change. For a typical workstation, a daily backup is a reasonable starting point.
A scheduled file backup should also account for a common Windows workstation scenario: the computer may be turned off at the scheduled time.
A practical policy is:
Computer running at scheduled time
    → Run the backup normally

Computer off at scheduled time
    → Run the missed backup as soon as practical afterward
Before relying on automation, verify that the same profile completes successfully when launched manually.
Use:
resticprofile -n windows backup
Only after the manual backup and restore tests succeed should the configuration be scheduled.
Consult the current Resticprofile scheduling documentation for the supported Windows scheduler options:
Resticprofile Scheduling Documentation
Verification
At this point, the recovery system should have two independently tested layers.
Verify the following:
- The Clonezilla USB boots successfully.
- Clonezilla detects the Windows system disk.
- Clonezilla detects the backup storage.
- A complete disk image has been created.
- The Clonezilla image verification completes successfully.
restic versionworks from PowerShell.resticprofile versionworks from PowerShell.- The Restic repository is stored on separate backup storage.
- A Restic backup completes successfully.
resticprofile -n windows snapshotsshows the backup.- A test restore successfully reconstructs files.
resticprofile -n windows checkcompletes without repository errors.- The repository password is stored securely somewhere other than the repository itself.
The most important verification is recovery.
A collection of backup files is useful only if those backups can actually be restored.
Troubleshooting
Clonezilla USB Does Not Boot
Verify that Rufus created the USB for the firmware mode used by the computer.
Modern Windows 11 systems normally use UEFI.
Also try selecting the USB explicitly from the motherboard's one-time boot menu rather than changing the permanent boot order.
Clonezilla Cannot See the Windows Disk
Storage controllers configured for Intel RAID, VMD, or vendor-specific RAID modes can sometimes prevent Linux-based recovery environments from seeing disks normally.
Do not change the storage controller mode casually. Changing RAID/AHCI settings on an existing Windows installation can make Windows temporarily unbootable.
Investigate the system's storage configuration before changing firmware settings.
Restic Cannot Find the Repository
Verify that the backup disk has the expected drive letter:
Get-Volume
Windows can assign a different drive letter when disks are added or removed.
For a dedicated backup disk, assigning a permanent drive letter through Disk Management can make the configuration more predictable.
Restic Reports an Incorrect Password
Restic repository passwords are not Windows passwords.
The password must be exactly the one used when the repository was initialized.
Do not initialize another repository to solve a password problem. Doing so does not recover access to the existing repository.
Scheduled Backup Does Not Run
First verify the profile manually:
resticprofile -n windows backup
If manual execution succeeds but the scheduled backup fails, investigate the environment used by the scheduled task.
Common differences include:
- Drive availability
- User permissions
- PATH configuration
- Repository password access
- Working directory
- Whether the backup disk was connected
Testing interactively first separates Restic configuration problems from Windows scheduling problems.
Common Questions
How Often Should I Create a Clonezilla Image?
Clonezilla images do not normally need to run as frequently as file backups.
A useful strategy is to create a new system image after significant changes, such as a major Windows upgrade, application deployment, or system reconfiguration.
Restic can run much more frequently because it is designed for incremental, deduplicated backups.
Can Restic Replace Clonezilla?
Not for the recovery strategy described here.
Restic is excellent for files and directories, but Clonezilla captures the disk structure required for straightforward bare-metal recovery.
Using both provides broader protection.
Can Clonezilla Replace Restic?
It can preserve files as part of a disk image, but restoring individual frequently changing files from periodic disk images is less convenient.
Restic provides snapshots specifically designed for that type of recovery.
Should the Backup Disk Always Stay Connected?
Convenience and isolation have to be balanced.
An always-connected disk makes automated Restic backups easier, but a disconnected backup provides additional protection against malware, ransomware, accidental deletion, and electrical problems.
For important data, consider maintaining another backup copy that is disconnected or stored on a different system.
Is One Backup Disk Enough?
It is better than having no backup, but it is not ideal.
This guide establishes the tools and recovery workflow. For important data, consider eventually extending the design toward a 3-2-1 backup strategy: multiple copies of the data, on different storage, with at least one copy stored separately from the computer.
Final Thoughts
Clonezilla, Restic, and Resticprofile address different parts of Windows recovery.
Clonezilla provides a path back from catastrophic system or disk failure. Restic provides frequent, encrypted, deduplicated snapshots of important files. Resticprofile makes those Restic backups easier to configure, repeat, maintain, and schedule.
The combination is particularly useful for workstations and home-lab computers where both the Windows environment and the data stored on it are worth protecting.
The final step is operational rather than technical: test recovery periodically.
Boot the Clonezilla USB. Verify system images. Inspect Restic snapshots. Restore sample files. Check the repository.
A backup system becomes a recovery system only after those recovery paths have been proven to work.
About This Guide
This guide explains how to build a layered Windows backup and recovery system using Clonezilla for disk imaging, Rufus for bootable recovery media, and Restic with Resticprofile for regular file backups. It is intended for Windows power users, developers, self-hosters, and home-lab administrators who want both full-system and file-level recovery options.