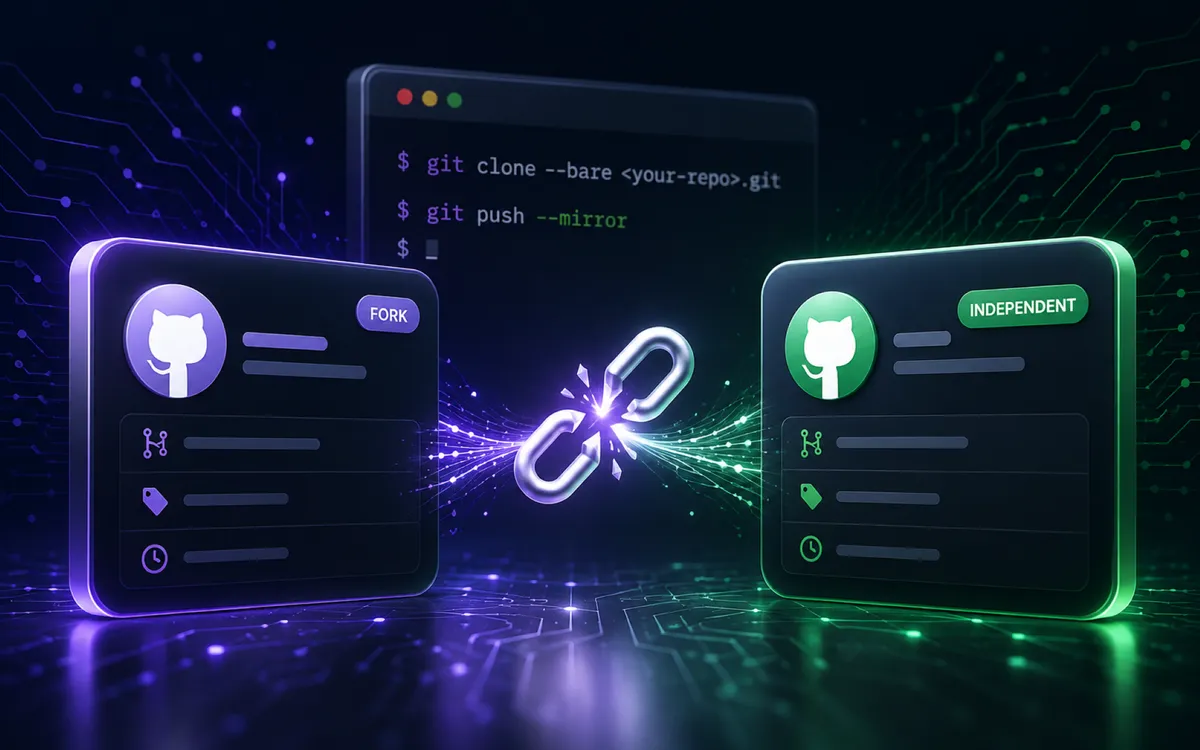
Forking a repository is one of GitHub's most useful collaboration features. It allows you to contribute to open-source projects, experiment with new ideas, or build upon an existing codebase while maintaining a relationship with the original repository.
Over time, however, many forks evolve into completely independent projects. New features are added, development moves in a different direction, or the repository becomes the foundation for an entirely new application. When that happens, the original fork relationship often serves little purpose and can even confuse contributors.
Unfortunately, GitHub doesn't provide a built-in option to detach a fork. Instead, you'll need to recreate the repository while preserving its underlying Git history.
This guide walks through that process step by step and explains why it works, allowing you to create a completely independent repository without losing your commits, branches, or tags.
Important
After completing this process, your repository will no longer be connected to its upstream project. If you wish to continue receiving updates from the original repository, you'll need to add it as a separate remote and merge changes manually.
Requirements
Before getting started, make sure you have:
- A GitHub account.
- Git installed on your computer.
- A forked repository that you own.
- Permission to delete and recreate repositories under your GitHub account.
Before You Begin
Before deleting the repository, it's important to understand which information is stored by Git and which information belongs to GitHub.
Preserved
The following information is stored inside the Git repository and will remain intact throughout this process:
- Complete commit history
- All branches
- All tags
- Repository contents
- Commit authorship
Not Preserved
The following items belong to GitHub and will be permanently removed:
- Fork relationship
- Pull requests
- Issues
- Discussions
- Stars
- Watchers
- Repository settings
- GitHub Actions configuration
- Branch protection rules
- Webhooks
Warning
If any GitHub-specific information is important to your project, export or document it before deleting the repository.
Why This Works
Although Git and GitHub are often mentioned together, they are separate technologies.
Git is responsible for storing your project's complete history, including commits, branches, tags, and repository objects.
GitHub builds on top of Git by providing collaboration features such as pull requests, issues, stars, repository settings, and the fork relationship.
Because the Git repository and GitHub metadata are separate, it's possible to recreate the GitHub repository while preserving the complete Git history.
A simplified view looks like this:
Git Repository
├── Commits
├── Branches
├── Tags
└── Objects

GitHub Features
├── Fork Relationship
├── Pull Requests
├── Issues
├── Stars
└── Repository Settings
This distinction is what makes the migration possible.
Step 1 — Create a Bare Clone
The first step is creating a bare clone of your repository.
Unlike a normal clone, a bare repository contains only Git's internal database. There is no working directory because its purpose is repository storage and migration rather than development.
Create the bare clone by running:
git clone --bare https://github.com/<your-username>/<your-repository>.git
Replace:
<your-username>with your GitHub username.<your-repository>with the repository name you want to detach.
After the command completes, you'll have a directory ending in .git.
For example:
example-project.git
This directory now contains your complete Git history and serves as a temporary backup throughout the migration.
Tip
Do not delete the bare repository until you've verified that the migration completed successfully.
Step 2 — Delete the Existing Fork
Once you've confirmed that the bare clone was created successfully, you can safely remove the existing fork from GitHub.
Navigate to:
Repository → Settings → Danger Zone → Delete this repository
GitHub will require you to type the repository name before the deletion can be confirmed.
GitHub Settings → Danger Zone → Delete this repository
Warning
Deleting the repository permanently removes GitHub-specific data such as pull requests, issues, stars, watchers, and repository settings. Your Git history remains safe because it has already been copied into the bare repository.
Step 3 — Create a New Repository
After deleting the original fork, create a new repository under your GitHub account using the exact same repository name.
When creating the repository:
- Do not initialize it with a README.
- Do not add a license.
- Do not create a
.gitignore. - Select the appropriate repository visibility (Public or Private).
The repository should remain completely empty.
Creating an empty repository allows Git to restore the repository exactly as it existed before the fork was deleted. If GitHub creates files during repository creation, the mirror push may fail because those files already exist.
GitHub's Create a New Repository page showing all initialization options left unchecked.
Step 4 — Mirror the Repository
With the new repository created, it's time to restore your Git history.
Run the following command:
git --git-dir=<your-repository>.git push --mirror https://github.com/<your-username>/<your-repository>.git
Replace:
<your-repository>with your repository name.<your-username>with your GitHub username.
For example:
git --git-dir=example-project.git push --mirror https://github.com/johndoe/example-project.git
Unlike a standard git push, the --mirror option copies every Git reference stored in the repository.
This includes:
- All branches
- Remote branches
- All tags
- Complete commit history
- Git references
Depending on the size of the repository, this process may take anywhere from a few seconds to several minutes.
When the command completes successfully, your new GitHub repository will contain the same Git history as the original fork.
Tip
A standardgit pushtransfers only the currently selected branch. The--mirroroption transfers the entire repository, ensuring every branch and tag is preserved.
Step 5 — Verify the Migration
Open the new repository on GitHub and verify the following:
- Your complete commit history is present.
- All expected branches exist.
- Repository tags were transferred.
- The repository contents match the original project.
- The "Forked from..." banner is no longer displayed.
The repository home page showing commit history and no "Forked from..." banner.
If all of these items are correct, the migration was successful.
Step 6 — Remove the Temporary Bare Repository
Once you've confirmed that the migration completed successfully, the temporary bare repository is no longer needed.
Delete it from your computer using:
rm -rf <your-repository>.git
For example:
rm -rf example-project.git
This removes only the temporary backup created during Step 1.
Your new GitHub repository is unaffected.
Verification
Before considering the migration complete, review the following checklist:
- ✅ Complete commit history preserved
- ✅ All branches transferred
- ✅ Repository tags transferred
- ✅ Repository contents unchanged
- ✅ Repository visibility is correct
- ✅ The "Forked from..." banner has been removed
If every item above checks out, your repository is now a completely independent GitHub repository.
Troubleshooting
Although the migration process is straightforward, you may encounter a few common issues. The following solutions resolve the majority of problems.
Only the Default Branch Was Transferred
If the new repository contains only the default branch, a standard git push was likely used instead of a mirror push.
Repeat the migration using:
git --git-dir=<your-repository>.git push --mirror https://github.com/<your-username>/<your-repository>.git
Using --mirror transfers every Git reference, including all branches and tags.
Tags Are Missing
Repository tags should transfer automatically during the mirror push.
To verify that the tags exist in the bare repository, run:
git --git-dir=<your-repository>.git tag
If the expected tags are listed, repeat the mirror push.
The Mirror Push Reports Conflicts
If GitHub reports conflicts while pushing, the replacement repository was probably initialized with a README, license, or .gitignore.
Delete the replacement repository, recreate it without initializing any files, and perform the mirror push again.
The "Forked from..." Banner Is Still Displayed
Verify the following:
- The original fork was deleted.
- The replacement repository was created from scratch.
- The repository was not accidentally created as another fork.
If everything is correct, refresh the page and allow GitHub a few minutes to update the repository metadata.
Common Questions
Will I Lose My Commit History?
No.
Your complete commit history is preserved because it is stored within the Git repository itself.
Will Commit Hashes Change?
No.
The Git objects are copied exactly as they exist in the original repository, so commit hashes remain unchanged.
Can I Continue Receiving Updates from the Original Repository?
Yes.
After completing the migration, you can add the original repository as an additional remote.
git remote add upstream https://github.com/original-owner/original-repository.git
You can then fetch and merge changes from the upstream project whenever needed.
Can I Make the New Repository Private?
Yes.
When creating the replacement repository, simply choose Private instead of Public.
The migration process is exactly the same.
Final Thoughts
Although GitHub does not provide a built-in option to detach a fork, Git's distributed design makes the process both reliable and predictable.
By creating a bare clone, recreating the repository, and performing a mirror push, you preserve everything Git tracks while removing GitHub's fork relationship.
The result is a clean, standalone repository with its complete development history intact, allowing your project to continue evolving independently.
About This Guide
The procedures described in this article were verified using Git and GitHub features available at the time of publication. If GitHub introduces an official method for detaching forks in the future, this guide will be updated accordingly.