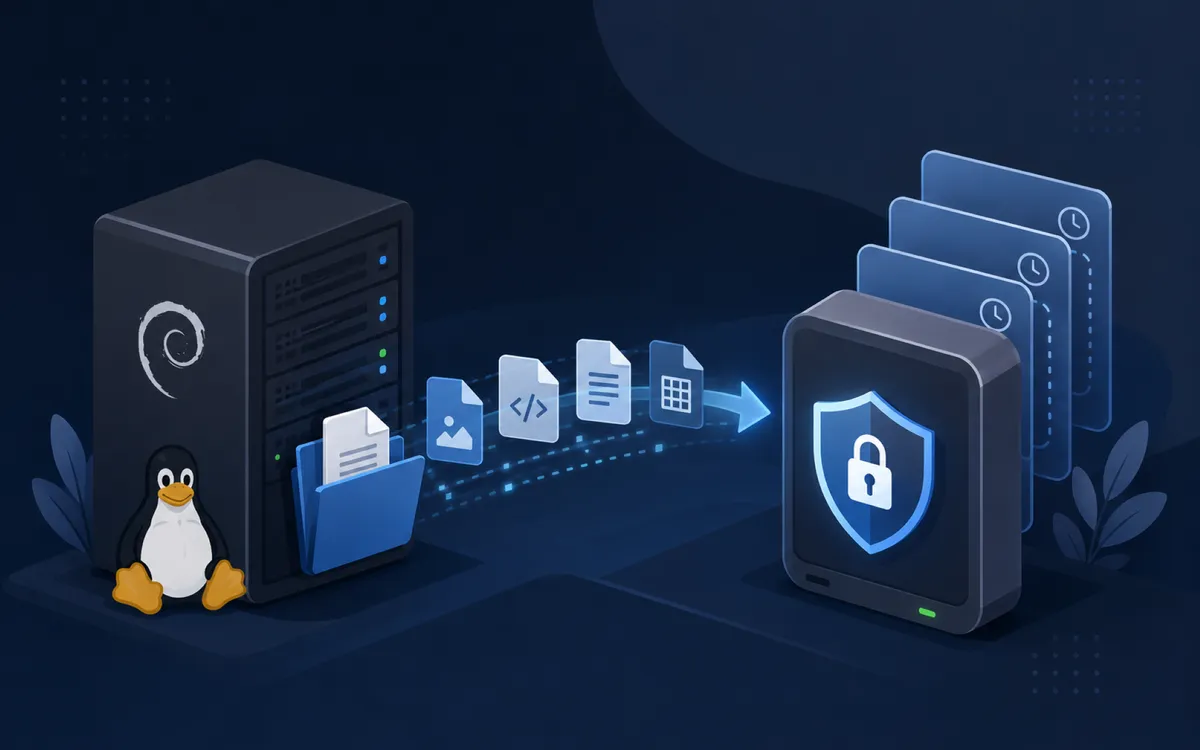
A reliable backup system should do more than simply copy files from one location to another. It should preserve multiple versions of your data, detect corruption, avoid unnecessarily storing duplicate data, and provide a straightforward way to recover files when something goes wrong.
Restic is a command-line backup application designed around these requirements. It creates encrypted, deduplicated snapshots of files and directories and stores them inside a Restic repository.
A repository can reside on local storage, another server, or one of several supported remote and object-storage services. This makes Restic suitable for everything from a small home server to more complex off-site backup configurations.
This guide explains how to install Restic on Debian, create a local backup repository, securely store the repository password, create and inspect snapshots, restore files, verify repository integrity, and manage old snapshots.
The examples use a local backup disk so the fundamental Restic workflow is easy to understand before adding scheduling, remote storage, or more advanced automation.
Requirements
Before starting, you will need:
- A Debian system
- An account with
sudoprivileges - A directory containing data you want to protect
- A backup destination with sufficient available storage
- Basic familiarity with the Linux command line
This guide uses the following example locations:
Data to protect:     /home/administrator
Restic repository:  /mnt/backup/restic
Password file:      /etc/restic/restic-password
Replace these paths with locations appropriate for your system.
For meaningful protection against disk failure, the Restic repository should not reside on the same physical disk as the data being protected.
Before You Begin
Restic organizes backups differently from traditional file-copy utilities.
The backup destination is called a repository. The repository contains encrypted backup data, metadata, indexes, and the information Restic needs to reconstruct your files.
Each successful backup creates a snapshot. A snapshot represents the state of the selected files and directories at the time the backup was created.
Restic also performs deduplication. Files are divided into data chunks, and data that already exists in the repository does not need to be stored again. Multiple snapshots can therefore reference existing data instead of storing another complete copy of every unchanged file.
The repository is encrypted. The repository password is therefore critical: without a valid password or repository key, the backup cannot be decrypted.
Make sure the password is stored securely outside the repository itself. Losing access to the repository password can make the backup data unrecoverable.
Why This Works
Restic combines snapshots, content-addressed storage, deduplication, encryption, and integrity verification.
When Restic processes files during a backup, it identifies their contents and stores data that is not already present in the repository. Later snapshots can reference existing data when files have not changed.
This makes repeated backups efficient while still allowing each snapshot to represent the complete state of the protected files at that point in time.
Restic also encrypts repository contents before they are written to storage. This is especially useful when the repository is stored somewhere that should not be trusted with unencrypted data, such as another server or a cloud-storage provider.
The repository also contains cryptographic information that allows Restic to detect damaged or unexpectedly modified data during integrity checks.
Step 1: Install Restic
Restic is available from the Debian package repositories.
First, update the local package index:
sudo apt update
This refreshes Debian's package information so APT knows which versions are currently available.
Install Restic:
sudo apt install restic
APT installs Restic and any required package dependencies.
After installation, verify that the command is available:
restic version
You should receive output identifying the installed Restic version and platform.
For example:
restic 0.x.x compiled with go... on linux/amd64
The exact version depends on the version packaged by your Debian release.
Step 2: Prepare the Backup Location
Restic needs a location in which to create its repository.
For this example, assume a separate backup disk is mounted at:
/mnt/backup
Before creating anything, verify that the disk is actually mounted:
findmnt /mnt/backup
If /mnt/backup is a valid mount point, findmnt should display the filesystem mounted there.
This check is important. If /mnt/backup is supposed to be a separate disk but is not mounted, creating files underneath that path could place the repository on your system's root filesystem instead.
Once the mount has been verified, create a directory for the Restic repository:
sudo mkdir -p /mnt/backup/restic
The -p option tells mkdir to create missing parent directories when necessary and not return an error if the directory already exists.
The directory is now available, but it is not yet a Restic repository.
Step 3: Initialize the Restic Repository
A storage directory must be initialized before Restic can use it as a repository.
Run:
sudo restic init --repo /mnt/backup/restic
Restic will prompt you to enter and confirm a repository password.
After initialization, you should see output similar to:
created restic repository ...
The directory now contains the structures Restic needs to store encrypted backups.
Do not lose the repository password. The password protects the encryption keys required to access the repository.
Step 4: Create a Protected Password File
Entering the repository password interactively is useful during initial setup, but it becomes inconvenient when backups are eventually automated.
Restic can instead read the password from a protected file.
Create a dedicated configuration directory:
sudo install -d -m 700 /etc/restic
The install command creates /etc/restic with permissions of 700, allowing only root to access the directory.
Create the password file:
sudo nano /etc/restic/restic-password
Enter only your Restic repository password:
your-restic-repository-password
Save the file and restrict its permissions:
sudo chmod 600 /etc/restic/restic-password
Mode 600 allows the owner to read and modify the file while preventing other users from accessing it.
Verify the permissions:
sudo ls -l /etc/restic/restic-password
The permissions should resemble:
-rw------- 1 root root ...
Restic can now access the password using the --password-file option.
Test access to the repository:
sudo restic \
  --repo /mnt/backup/restic \
  --password-file /etc/restic/restic-password \
  snapshots
Because the repository is new, there may not be any snapshots to display. The important result is that Restic opens the repository successfully without prompting for a password.
Step 5: Create the First Backup
Suppose the directory you want to protect is:
/home/administrator
Create the first backup with:
sudo restic \
  --repo /mnt/backup/restic \
  --password-file /etc/restic/restic-password \
  backup /home/administrator
The backup command scans the specified directory, identifies its contents, encrypts the required data, and stores it in the repository.
At the end of a successful backup, Restic displays a summary containing information such as the number of files processed, the amount of data added to the repository, and the new snapshot ID.
You can run the same command again whenever you want to create another snapshot:
sudo restic \
  --repo /mnt/backup/restic \
  --password-file /etc/restic/restic-password \
  backup /home/administrator
Restic does not simply create another full copy of every file.
If data is already present in the repository, Restic can reuse it through deduplication. Only data that needs to be added consumes additional repository storage.
Step 6: Back Up Multiple Directories
Restic can include multiple paths in the same backup operation.
For example:
sudo restic \
  --repo /mnt/backup/restic \
  --password-file /etc/restic/restic-password \
  backup /home /etc /opt
This creates a snapshot containing all three specified paths.
This approach can be useful for a server where application data, configuration files, and user data are stored in different locations.
Remember that Restic can only read files accessible to the account running the command. Running the backup through sudo allows Restic to read files that may not be accessible to a normal user account.
Step 7: View Available Snapshots
After creating a backup, list the snapshots stored in the repository:
sudo restic \
  --repo /mnt/backup/restic \
  --password-file /etc/restic/restic-password \
  snapshots
The output contains information similar to:
ID        Time                 Host        Tags        Paths
-----------------------------------------------------------------------
abc12345  2026-08-30 01:00:00  server                  /home/administrator
The snapshot ID uniquely identifies that backup.
Restic also understands the special snapshot identifier:
latest
This can be used with many commands when you want to operate on the most recent applicable snapshot instead of entering its ID.
Step 8: Inspect a Snapshot
Before restoring data, it is often useful to see what a snapshot contains.
Run:
sudo restic \
  --repo /mnt/backup/restic \
  --password-file /etc/restic/restic-password \
  ls latest
Restic displays the files and directories contained in the latest snapshot.
You can also inspect a specific snapshot by replacing latest with its snapshot ID:
sudo restic \
  --repo /mnt/backup/restic \
  --password-file /etc/restic/restic-password \
  ls abc12345
This is useful when locating a deleted file or determining which snapshot contains the version you want to recover.
Step 9: Restore a Backup
A backup should not be considered proven until data has successfully been restored from it.
Rather than immediately restoring files over their original locations, create a temporary restore directory:
sudo mkdir -p /tmp/restic-restore
Restore the latest snapshot:
sudo restic \
  --repo /mnt/backup/restic \
  --password-file /etc/restic/restic-password \
  restore latest \
  --target /tmp/restic-restore
Restic reconstructs the contents of the snapshot underneath the specified target directory.
Inspect the restored files:
sudo ls -la /tmp/restic-restore
Navigate through the restored directory and verify that important files are present and readable.
Restoring to a temporary directory first is safer than immediately writing recovered files over live production data. It allows you to inspect the recovery before deciding which files should be returned to their original locations.
After testing the restore, remove the temporary directory if it is no longer needed:
sudo rm -rf /tmp/restic-restore
Verify the path carefully before using rm -rf.
Step 10: Check Repository Integrity
Creating successful snapshots does not eliminate the need to verify the backup repository.
Restic provides the check command for repository validation:
sudo restic \
  --repo /mnt/backup/restic \
  --password-file /etc/restic/restic-password \
  check
This checks repository structures and consistency.
A successful check should finish without reporting repository errors.
For a more extensive test, Restic can also read the stored repository data:
sudo restic \
  --repo /mnt/backup/restic \
  --password-file /etc/restic/restic-password \
  check --read-data
This performs considerably more I/O because Restic reads the repository's stored data.
On a large repository or remote backup destination, a full data check can take significantly longer than a normal structural check.
A practical backup strategy can therefore use regular check operations and perform full-data verification less frequently.
Step 11: Configure Snapshot Retention
As snapshots accumulate, you may eventually want Restic to remove older recovery points according to a retention policy.
The forget command selects snapshots for removal.
For example:
sudo restic \
  --repo /mnt/backup/restic \
  --password-file /etc/restic/restic-password \
  forget \
  --keep-daily 7 \
  --keep-weekly 4 \
  --keep-monthly 12
This policy instructs Restic to retain snapshots according to daily, weekly, and monthly groups.
Before applying a new retention policy, preview what Restic intends to do:
sudo restic \
  --repo /mnt/backup/restic \
  --password-file /etc/restic/restic-password \
  forget \
  --keep-daily 7 \
  --keep-weekly 4 \
  --keep-monthly 12 \
  --dry-run
The --dry-run option evaluates the retention rules without actually removing snapshots.
Review the output carefully before running the command without --dry-run.
Step 12: Reclaim Unused Repository Space
Removing snapshots with forget does not necessarily immediately reduce the size of the repository.
Restic deduplicates data, which means stored data may be referenced by multiple snapshots. Restic must determine which repository data is no longer needed before that space can be reclaimed.
The prune command performs this maintenance:
sudo restic \
  --repo /mnt/backup/restic \
  --password-file /etc/restic/restic-password \
  prune
Pruning modifies repository data and can involve substantial disk or network I/O.
For that reason, treat pruning as a maintenance operation rather than something that must run after every backup.
Always make sure the repository is accessible and healthy before performing repository maintenance.
Verification
At this point, verify the complete backup workflow rather than relying only on the result of the original backup command.
First, confirm that snapshots exist:
sudo restic \
  --repo /mnt/backup/restic \
  --password-file /etc/restic/restic-password \
  snapshots
Next, check repository consistency:
sudo restic \
  --repo /mnt/backup/restic \
  --password-file /etc/restic/restic-password \
  check
Finally, perform a test restore:
sudo mkdir -p /tmp/restic-test
Restore the latest snapshot:
sudo restic \
  --repo /mnt/backup/restic \
  --password-file /etc/restic/restic-password \
  restore latest \
  --target /tmp/restic-test
Inspect the recovered data and verify several important files.
A working Restic installation should meet the following conditions:
- Restic can open the repository using the protected password file.
- A backup completes successfully.
restic snapshotslists the expected snapshot.restic checkcompletes without repository errors.- Files can be restored to a temporary location.
- Restored files contain the expected data.
A backup system is only useful if its data can actually be recovered.
Troubleshooting
Restic Reports an Incorrect Password
If Restic cannot unlock the repository, verify that you are supplying the correct password file.
Check that the file exists:
sudo ls -l /etc/restic/restic-password
Its permissions should resemble:
-rw------- 1 root root ...
If you need to inspect its contents, use:
sudo cat /etc/restic/restic-password
Be aware that this displays the repository password directly in the terminal.
Also make sure you are pointing Restic at the correct repository. A valid password for one Restic repository may not unlock another repository.
Repository Does Not Exist
If Restic reports that it cannot find the repository, first check whether the backup disk is mounted:
findmnt /mnt/backup
Then inspect the repository directory:
sudo ls -la /mnt/backup/restic
If this path is supposed to contain an existing repository, do not immediately run restic init.
First determine whether the expected disk is mounted and whether you are using the correct repository path. Accidentally initializing a new repository at the wrong location can make troubleshooting more confusing.
Permission Denied During Backup
Restic can only protect files that the account running it can read.
For system directories, backups are commonly run with root privileges:
sudo restic \
  --repo /mnt/backup/restic \
  --password-file /etc/restic/restic-password \
  backup /etc
Using sudo allows Restic to access files that an ordinary user may not be able to read.
Backup Disk Is Not Mounted
A missing local backup mount can cause a particularly subtle problem.
Suppose /mnt/backup normally represents a separate disk. If that disk is not mounted but the /mnt/backup directory still exists, Linux can write files into that directory on the root filesystem.
Check the mount explicitly:
findmnt /mnt/backup
For automated local backups, checking that the expected destination is mounted before running Restic is an important safety measure.
The Repository Is Growing
Repository growth does not necessarily indicate a problem.
New and changed files require additional storage, and old snapshots may continue referencing data even after newer snapshots have been created.
Review the available snapshots:
sudo restic \
  --repo /mnt/backup/restic \
  --password-file /etc/restic/restic-password \
  snapshots
Then evaluate your retention policy using forget --dry-run before deleting anything.
Common Questions
Does Restic Create Full or Incremental Backups?
Restic presents backups as snapshots rather than requiring you to manage traditional full and incremental backup chains.
Each snapshot represents the protected data at a particular point in time.
Internally, Restic uses deduplication so data that is already stored in the repository does not need to be stored repeatedly.
This gives you convenient point-in-time snapshots without requiring another complete physical copy of every unchanged file.
Are Restic Backups Encrypted?
Yes.
Restic encrypts the contents stored in its repository. The repository password protects access to the encryption keys required to decrypt that data.
This is one reason Restic works well with remote backup destinations: the backup data can be encrypted before being stored outside the original system.
Can Restic Back Up Multiple Directories?
Yes.
Multiple paths can be supplied to the same backup command:
sudo restic \
  --repo /mnt/backup/restic \
  --password-file /etc/restic/restic-password \
  backup /home /etc /opt
All specified paths become part of the resulting snapshot.
Can Restic Back Up Docker Data?
Yes, but application consistency must be considered.
Restic can back up ordinary directories and Docker volume data that are accessible from the host. However, directly copying the live files of a database does not automatically guarantee a consistent database backup.
Applications such as MySQL, PostgreSQL, and SQLite may require database dumps, snapshots, application quiescence, or another application-aware process before Restic protects the resulting data.
Restic handles storing and versioning the backup data; it does not automatically make every running application's files transactionally consistent.
Can the Repository Be Stored on Another Server?
Yes.
Restic supports remote repositories in addition to local filesystem repositories. Common configurations include SFTP, the Restic REST server, and supported cloud or object-storage services.
The fundamental workflow remains the same:
Initialize repository
        |
        v
Create snapshots
        |
        v
Verify repository
        |
        v
Restore data
        |
        v
Apply retention
Starting with a local repository makes it easier to understand these concepts before moving the destination off-site.
Does Restic Automatically Schedule Backups?
No.
Restic performs backup and repository operations, but scheduling must be configured separately.
Simple installations can use tools such as systemd timers or cron. More advanced installations can use an orchestration tool such as resticprofile to manage Restic configuration, scheduling, retention, checks, and pre-backup or post-backup operations.
It is best to automate Restic only after the manual backup and restore workflow has been successfully tested.
Should the Backup Repository Be on the Same Disk?
Ideally, no.
A repository on the same physical disk as the original data can protect against accidental deletion or unwanted file changes, but it does not protect against failure or loss of that disk.
A stronger design places the repository on separate storage.
For more comprehensive protection, consider maintaining another copy off-site. A local Restic repository can provide fast recovery while an additional remote repository protects against events affecting the entire server or location.
Final Thoughts
Restic provides a strong foundation for Debian backups because it combines encrypted repositories, deduplicated storage, point-in-time snapshots, integrity checking, and flexible restoration.
A basic installation requires only a few components: Restic itself, a repository, a securely protected repository password, and a defined set of files to protect.
Creating a successful snapshot should not be the end of the setup process. Verify the repository with restic check and perform an actual test restore. These steps confirm that the backup can be used for its intended purpose: recovering data.
Once the manual workflow is proven, the next logical step is automation. Backups can then be scheduled, retention policies applied consistently, repository checks performed periodically, and an off-site repository added for stronger disaster recovery.
About This Guide
This guide explains how to install and use Restic on Debian for Linux administrators, self-hosters, developers, Docker users, and home lab operators. It focuses on understanding Restic repositories, snapshots, encryption, verification, restoration, and retention before moving to more advanced backup automation.