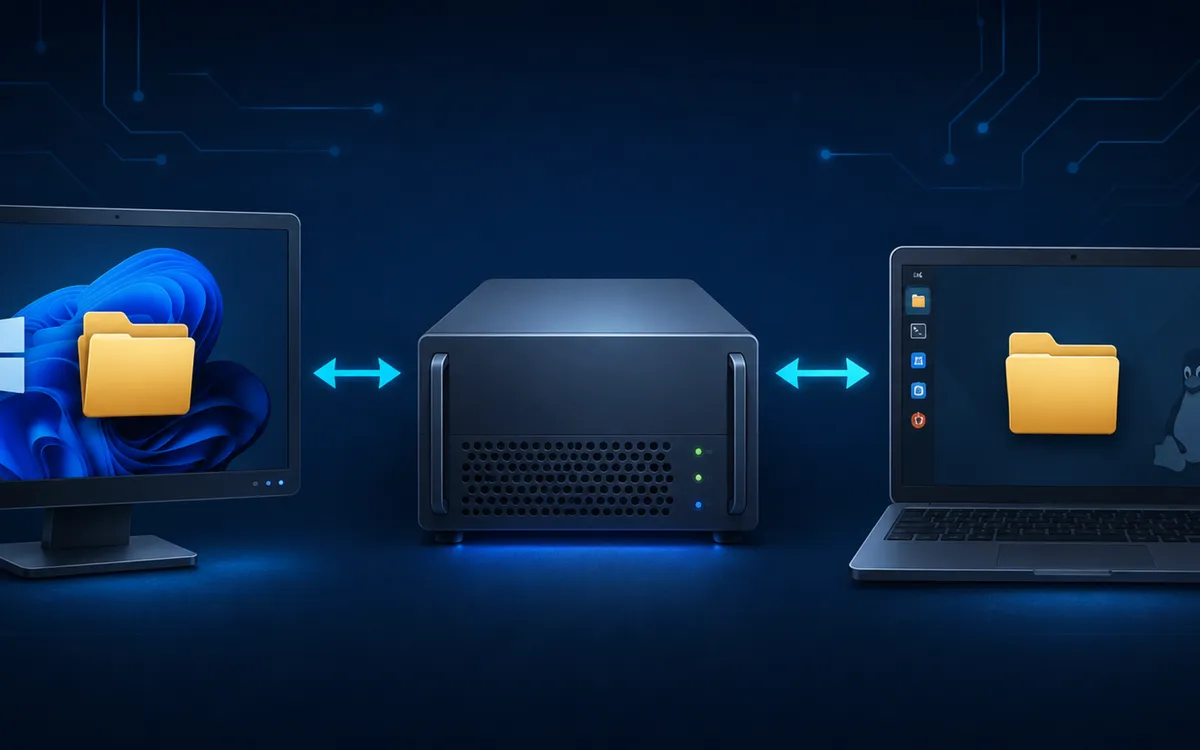
Samba allows a Linux server to share files and directories with Windows computers using the Server Message Block (SMB) protocol. This makes it possible to store files centrally on a Debian server while accessing them through Windows File Explorer much like files stored on another Windows computer.
For home labs and small networks, Samba is particularly useful when a Debian server already provides storage for backups, media, projects, or other shared data. Instead of transferring files through SSH, FTP, or a web interface, Windows computers can access the server through a standard network share.
This guide explains how to install Samba on Debian 13, create an authenticated file share, configure permissions, and connect to the share from Windows.
Requirements
Before starting, you will need:
- A Debian 13 server
- A user account with
sudoprivileges - A Windows computer on the same network
- A directory that will be shared
- A Linux user account that will be allowed to access the share
- A static or otherwise predictable IP address for the Debian server
This guide configures Samba as a standalone file server rather than an Active Directory domain controller.
Before You Begin
Samba implements the SMB protocol used by Windows for network file and printer sharing. Debian 13 provides Samba through its standard package repositories, and the samba package contains the components necessary to operate a standalone SMB file server.
Samba's primary configuration file is:
/etc/samba/smb.conf
The file contains a global configuration section followed by individual share definitions.
There are also two different permission systems involved when accessing files through Samba:
- Linux filesystem permissions determine whether the underlying Linux account can access a file or directory.
- Samba permissions determine whether an authenticated SMB user is allowed to access the share.
Samba cannot override normal Linux filesystem permissions. A Samba user may therefore be permitted to access a share in smb.conf but still receive an access-denied error if the corresponding Linux user cannot access the directory.
Before modifying an existing Samba installation, create a backup of its configuration:
sudo cp /etc/samba/smb.conf /etc/samba/smb.conf.backup
If Samba has not been installed yet, the configuration file may not exist. In that case, install Samba first and create the backup afterward.
Why This Works
Windows uses SMB for network file sharing. Samba provides an open-source implementation of SMB that allows Linux and Unix systems to communicate with Windows clients using the same protocol.
The smbd daemon is responsible for serving files to SMB clients. When a Windows computer connects to the Debian server, Samba authenticates the supplied username and password and then maps that connection to the corresponding Linux account.
The basic path looks like this:
Windows File Explorer
        |
        | SMB
        v
Debian 13 Samba Server
        |
        v
Linux Filesystem
        |
        v
Shared Directory
This approach allows Windows to access Linux storage without requiring special client software.
Step 1: Install Samba
First, update the local package index:
sudo apt update
This downloads the latest package information from the repositories configured on the Debian server.
Install Samba and the SMB client utilities:
sudo apt install samba smbclient
The samba package provides the server components required to host SMB shares. The smbclient package provides command-line utilities that are useful for testing the Samba server directly from Debian.
After installation, check the installed Samba version:
smbd --version
You should receive output similar to:
Version 4.x.x-Debian
The exact version may change as Debian 13 receives Samba updates.
Step 2: Create the Shared Directory
Choose a location for the files that Windows computers will access.
For this example, create:
/srv/samba/shared
Create the directory:
sudo mkdir -p /srv/samba/shared
The -p option creates any missing parent directories as necessary.
Next, assign ownership to the Linux user that will access the share. Replace username with your actual Linux username:
sudo chown username:username /srv/samba/shared
Set directory permissions:
sudo chmod 0755 /srv/samba/shared
This gives the owner read, write, and execute permissions while allowing other users to read and enter the directory.
If the share will contain private data, you can use more restrictive permissions:
sudo chmod 0700 /srv/samba/shared
With 0700, only the directory owner has access through the Linux filesystem.
Check the resulting permissions:
ls -ld /srv/samba/shared
You should see the selected user listed as the owner.
Step 3: Create a Samba User
Samba maintains its own authentication database, but Samba users normally correspond to existing Linux users.
If the account does not already exist, create it first:
sudo adduser username
Replace username with the account that should access the share.
If the Linux account already exists, you do not need to create another one.
Add the user to Samba's password database:
sudo smbpasswd -a username
Samba will prompt you to enter and confirm an SMB password:
New SMB password:
Retype new SMB password:
This password is what you will enter when connecting from Windows. It does not have to match the Linux account password, although using the same password can simplify authentication on a trusted home network.
Enable the Samba account:
sudo smbpasswd -e username
The account can now authenticate with the Samba server.
Step 4: Configure the Samba Share
Open the Samba configuration:
sudo nano /etc/samba/smb.conf
The default configuration contains several sections and comments. You can retain the existing configuration and add your share at the bottom.
Add:
[shared]
    comment = Shared Files
    path = /srv/samba/shared
    browseable = yes
    read only = no
    guest ok = no
    valid users = username
    create mask = 0644
    directory mask = 0755
Replace username with the Samba user created earlier.
The share name:
[shared]
determines the name Windows will use when connecting.
For example:
\\192.168.1.10\shared
The remaining options control how the share behaves.
path specifies the actual Linux directory:
path = /srv/samba/shared
browseable = yes allows the share to appear when browsing the server.
read only = no permits users to create and modify files.
guest ok = no prevents unauthenticated guest access.
valid users limits access to the specified Samba account:
valid users = username
create mask controls the default maximum permissions assigned to newly created files:
create mask = 0644
directory mask performs the same function for directories:
directory mask = 0755
Save the file and exit the editor.
Step 5: Validate the Samba Configuration
Before restarting Samba, validate the configuration with testparm:
sudo testparm
testparm parses smb.conf and reports syntax errors or invalid configuration values.
A valid configuration should eventually report:
Loaded services file OK.
It will also display the effective Samba configuration.
Using testparm before restarting Samba is important because it catches many configuration mistakes before they affect the running service.
To display a condensed version without most default values, run:
sudo testparm -s
Confirm that the [shared] section appears in the output.
Step 6: Restart and Enable Samba
Restart the SMB daemon so the configuration is applied:
sudo systemctl restart smbd
Enable the service so it starts automatically when Debian boots:
sudo systemctl enable smbd
Check its current status:
sudo systemctl status smbd
The service should report:
Active: active (running)
Press q to exit the status display.
If the service does not start, check the configuration again:
sudo testparm
You can also inspect recent service logs with:
sudo journalctl -u smbd --no-pager -n 50
Step 7: Configure the Firewall
If a firewall is enabled on the Debian server, SMB traffic must be allowed from your local network.
Check whether UFW is active:
sudo ufw status
If you use UFW, Samba normally installs an application profile that can be inspected with:
sudo ufw app info Samba
To allow the Samba profile:
sudo ufw allow Samba
For a server on a trusted home network, it is better to restrict SMB access to the local subnet when practical.
For example, if your LAN is 192.168.1.0/24:
sudo ufw allow from 192.168.1.0/24 to any app Samba
Replace the example network with your actual LAN subnet.
Do not expose SMB ports directly to the public Internet. Samba shares intended for home or office use should normally be reachable only from trusted local networks or through an appropriately secured VPN.
Step 8: Test the Share from Debian
Before moving to Windows, verify that Samba can see the share locally.
List the shares advertised by the server:
smbclient -L localhost -U username
Enter the Samba password when prompted.
The output should include the newly configured share:
Sharename       Type
---------       ----
shared          Disk
Next, connect directly to it:
smbclient //localhost/shared -U username
After entering the password, you should receive an SMB prompt:
smb: \>
Run:
ls
to display the contents of the shared directory.
Exit with:
quit
A successful local connection confirms that Samba authentication and the basic share configuration are working before Windows is introduced into the troubleshooting process.
Step 9: Connect from Windows
On the Windows computer, open File Explorer.
Enter the Debian server's IP address and share name in the address bar:
\\192.168.1.10\shared
Replace 192.168.1.10 with the actual IP address of your Debian server.
Windows should request credentials.
Enter the Samba username and password configured earlier.
If Windows requires the username to include the server name, use:
SERVERNAME\username
Once authentication succeeds, the contents of /srv/samba/shared should appear in File Explorer.
Create a test folder or text file to verify that write access works.
Step 10: Map the Share as a Windows Network Drive
If you use the share regularly, Windows can map it to a drive letter.
Open File Explorer and select This PC, then choose Map network drive.
Choose an available drive letter and enter:
\\192.168.1.10\shared
Enable Reconnect at sign-in if you want Windows to reconnect automatically.
If the Samba credentials differ from your Windows credentials, enable Connect using different credentials.
After authentication, the Debian share will appear alongside local drives in File Explorer.
Verification
A working configuration should pass several checks.
Confirm the Samba configuration is valid:
sudo testparm -s
Confirm smbd is running:
systemctl is-active smbd
Expected output:
active
Confirm Samba is listening for SMB connections:
sudo ss -lntp | grep smbd
You should normally see Samba listening on TCP port 445.
Confirm the share is advertised:
smbclient -L localhost -U username
Finally, verify from Windows that you can:
- Open the Samba share
- Authenticate with the Samba account
- List existing files
- Create a file
- Create a directory
- Modify a file
- Delete a test file
Successful read and write operations confirm that both Samba permissions and Linux filesystem permissions are working correctly.
Troubleshooting
Windows Reports Access Denied
First check the Linux filesystem permissions:
ls -ld /srv/samba/shared
The Linux account associated with the Samba user must have permission to access the directory.
Also verify that the account is present in Samba:
sudo pdbedit -L
If necessary, reset its Samba password:
sudo smbpasswd username
Windows Does Not Prompt for New Credentials
Windows can cache SMB credentials. If you previously connected to the server using another account, Windows may continue using those credentials.
Open Command Prompt and view current network connections:
net use
Disconnect existing SMB connections to the server:
net use \\192.168.1.10\* /delete
You can then reconnect and enter the correct Samba credentials.
The Share Does Not Appear Under Network
Windows network discovery and direct SMB access are separate functions. A Samba server can work correctly even when it does not automatically appear under Network in File Explorer.
Try connecting directly:
\\192.168.1.10\shared
If direct access works, Samba itself is functioning.
For servers, using a predictable IP address or local DNS hostname is generally more reliable than depending on automatic network discovery.
Samba Will Not Start
Validate the configuration:
sudo testparm
Then inspect the service:
sudo systemctl status smbd
For additional details:
sudo journalctl -u smbd --no-pager -n 50
Configuration syntax errors, invalid paths, and permission problems are common causes.
Files Can Be Read but Not Modified
Verify that the share contains:
read only = no
Then check the Linux directory permissions:
ls -ld /srv/samba/shared
Remember that Samba permissions do not replace Linux filesystem permissions. Both must permit the operation.
Common Questions
Does Samba Require SMB1?
No. Modern Samba versions support SMB2 and SMB3, and modern Windows versions use these protocols.
SMB1 is obsolete and should not be enabled simply to make a normal Windows client connect to a modern Samba server.
Can Samba Share an Existing Directory?
Yes. The path option can point to an existing directory instead of /srv/samba/shared.
For example:
[data]
    path = /mnt/data
    browseable = yes
    read only = no
    guest ok = no
    valid users = username
The Samba user must still have appropriate Linux filesystem permissions for that directory.
Can Multiple Windows Computers Use the Same Share?
Yes. Multiple SMB clients can connect to the same Samba share simultaneously.
For multi-user environments, creating separate Linux and Samba accounts is generally preferable to sharing a single username and password between everyone.
Do I Need nmbd?
The smbd daemon provides the actual SMB file-sharing service. Modern Windows systems can connect directly to a Samba server by IP address or hostname without relying on legacy NetBIOS browsing.
Whether additional discovery services are useful depends on how you want the server to appear on your network, but they are not required for basic SMB file sharing.
Final Thoughts
Samba provides a straightforward way to integrate Debian storage into a Windows network while retaining Linux filesystem permissions and user management.
For a home server or small network, an authenticated standalone Samba share provides a good balance between convenience and security. Windows computers can access centralized storage directly through File Explorer while Debian remains responsible for the underlying filesystem.
The most important point to remember is that Samba access depends on both layers of permissions: the Samba configuration and the Linux filesystem. Keeping those permissions intentional and testing the share locally with smbclient makes most Samba problems considerably easier to diagnose.
About This Guide
This guide explains how to configure Debian 13 as a standalone Samba file server for Windows clients. It is intended for Linux administrators, self-hosters, developers, and home lab users who want authenticated Windows file sharing without deploying an Active Directory environment.